
First, login to Azure Portal with an account that has the permission to create a user account. Go to Azure Active Directory service.

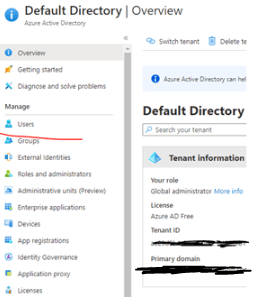

Doing it from the portal is quite straight Forward. You can either create a user or invite an external user to join as a guest user.
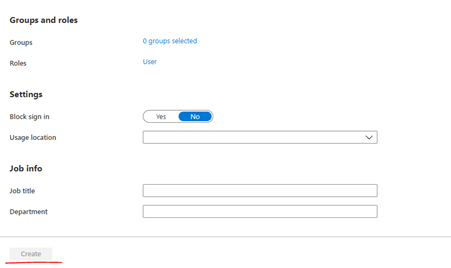
Fill in the required fields: User Name, Name and we are all set. You can fill in the optional fields or assign groups / Roles to this user account now, or we can do it later.

To create new User using PowerShell, you will need to connect to AzureAD first. We will use the below script to create the User account.
#Create Password Profile

$PasswordProfile = New-Object -TypeName Microsoft.Open.AzureAD.Model.PasswordProfile

$PasswordProfile.Password = “Password123!”

#Create User account

New-AzureADUser -DisplayName “Test User” -PasswordProfile $PasswordProfile -UserPRincipalName testuser@yourdomain.com -AccountEnabled $True -MailNickName 'TestUser"
Before we can run the above command, we need to connect to our AzureAD first. Now if you type in:
Connect-AzureAD

This will prompt you to login with your account. However, I am getting an error saying that User was not found with an Autentication_Unauthorized Error code.

It was because we have not indicated which Tenant ID to connect to. Go back to Azure Portal and you will find your tenant ID under Default Directory.
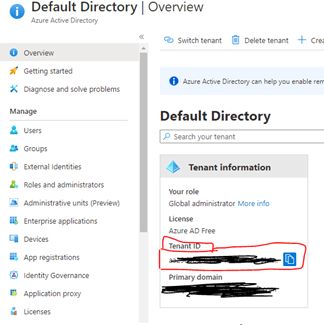
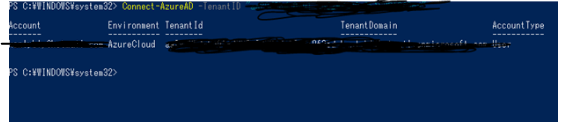
Now, try to connect to AzureAD again, but this time, specify the -TenantID parameter with your ID.

To create a User using PowerShell, we need to specify the -MailNickName parameter as well.

You can list all the user accounts in Azure AD with the Get-AzureADUser cmdlet.
Get-AzureADUser
If you want to remove this account, you can either add the |Remove-AzureADUser after the Get-ADUser cmdlt, or use the cmdlet
Remove-AzureADUser -ObjectID “testuser@yourdomain.com”
Get-AzureADUser -ObjectID "testuser@yourdomain.com" |Remove-AzureADUser
