
We will now work on creating our vDisk for our PVS deployment. I will first create a new Win10 VM and install whatever applications we will need for this template. If you are using Hyper V, make it a Gen 1 VM for now. Also, remove the NIC and add a Legacy Network Adapter to this VM and configure the boot order to have the Legacy Network Adapter to boot first.

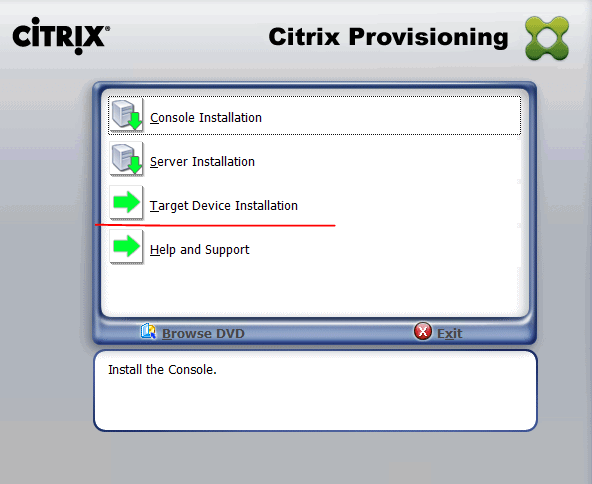
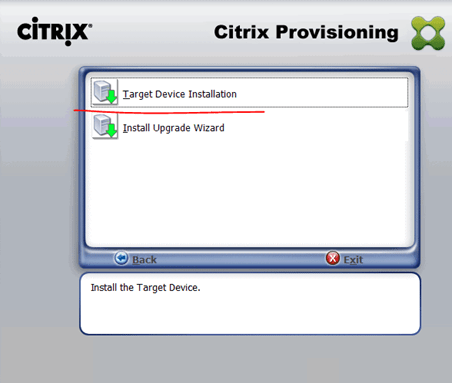
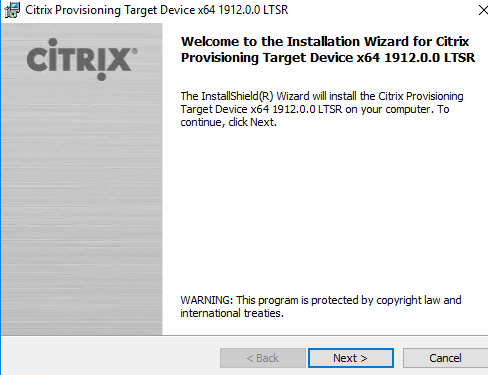
Mount the Citirx Provisioning Server ISO file on the new Win10 VM after you installed applications you need and Join it to the domain. Launch the Autorun.exe and select “Target Device Installation” this time.
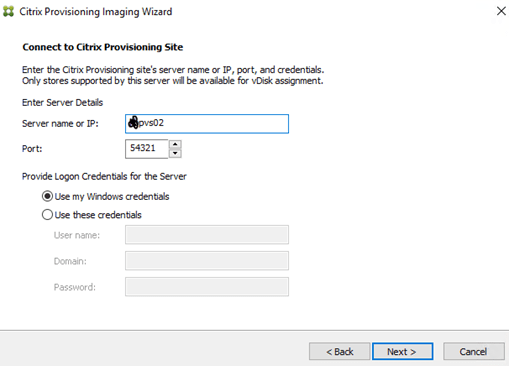
Here, put in the name or the IP of PVS01. I am using PVS02 because this is my second farm.
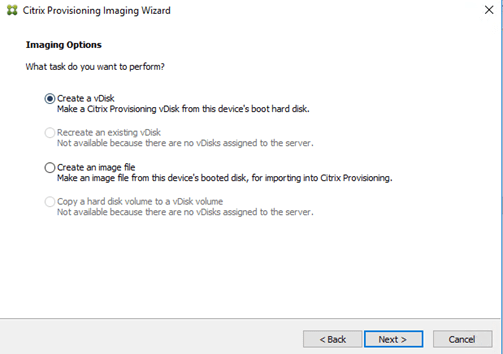
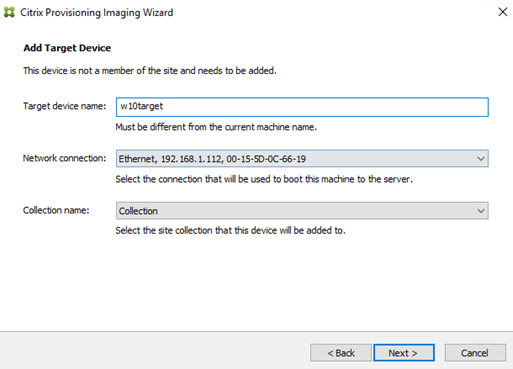
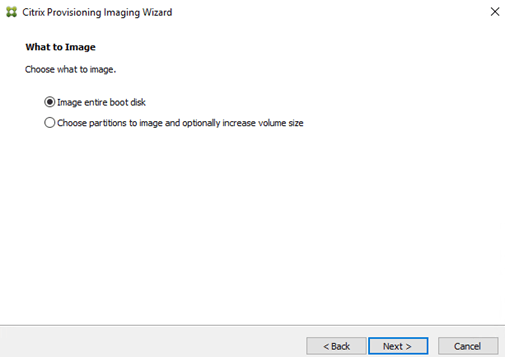
Select Create a vDisk and put in a Target Device Name.
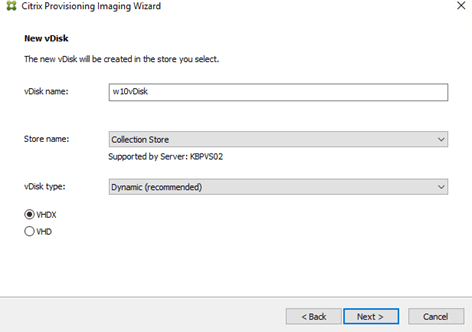
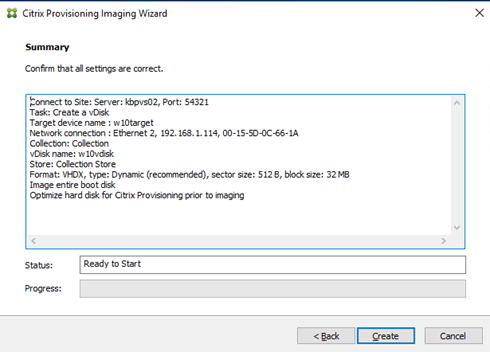
Name the vDisk and we can leave the rest as default.
*If you are getting an error saying that the target did not received successful response from the Server with code 0Xa0070002, follow this article to increase the timeout value.
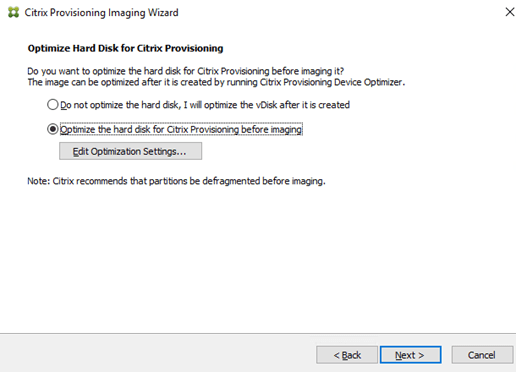
Sekect optimize the hard disk so that the new VMs that are using this template will have better performance.
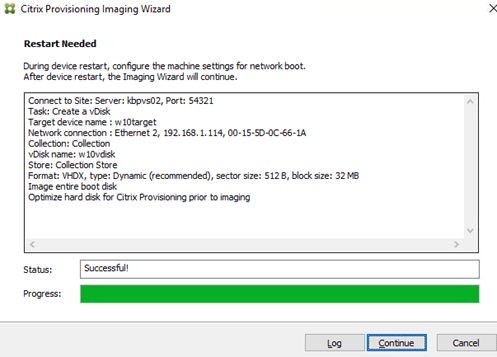
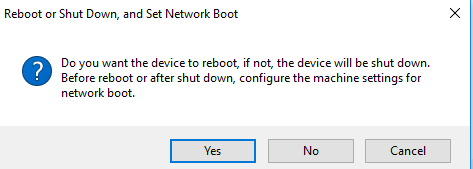
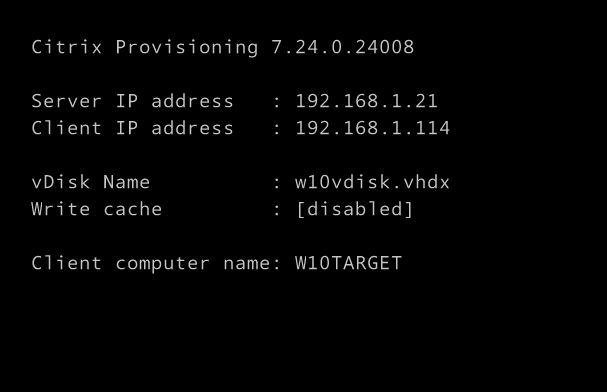
Upon restart, it will boot from PXE
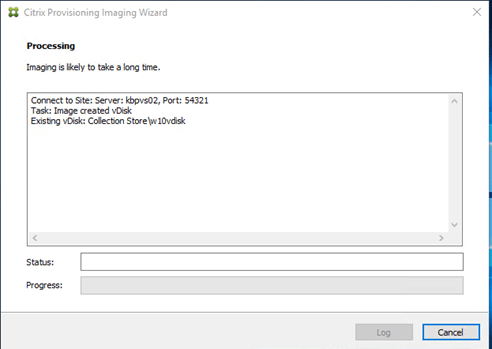
The Image is really likely to take a long time. It took mine more than 1 hour to complete.
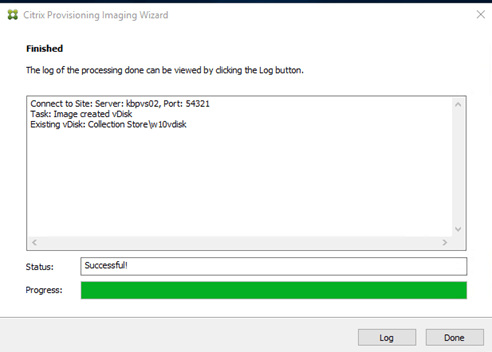

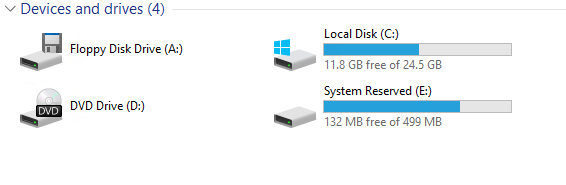
You will see a new Drive after the imaging process has been completed. This is the vDisk that was just created. If we shutdown our VM now and remove the C Drive, it will still boot because it will now boot from PXE and read from the vDisk.
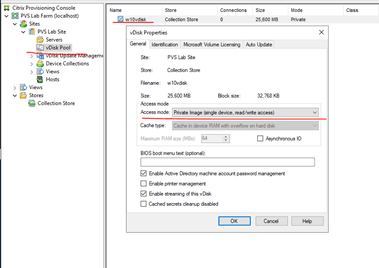
If you go back to PVS01, you will see a new vDisk “w10vdisk” in the vDisk Pool”. It is in Private mode, meaning it is dedicated to one specific machine.
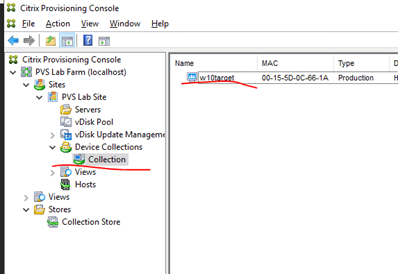
If you go to Device Collections, you will see the new device “w10target” there
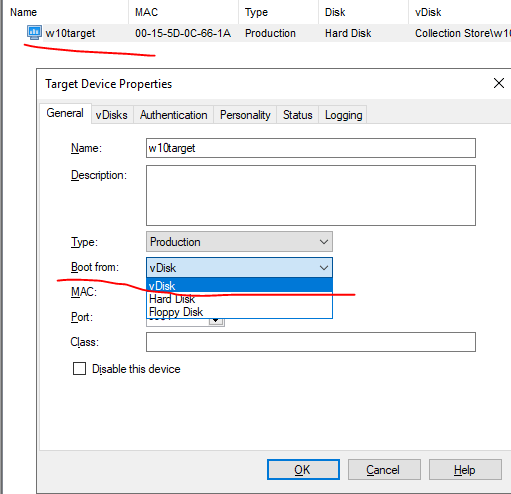
Right click on w10target and select properties. If we want to make it a disk-less VM, we will need to change it to boot from vDisk. Now, remove the C drive of w10target from your hypervisor and start it up again.

It is now booting from the vDisk alone. If you change the settings of the vDisk to standard image mode, you should see some cache files in PVS01 when you are booting the VM up (in the folder that you tell the server to use during the configuration). We do not want to overload the PVS01 server, therefore, we will create a boot disk and attach it to w10target. The first time you boot into the VM, it will still use that PVS drive for caching. You have to add and format the disk in disk manager before it can be used for writing cache.
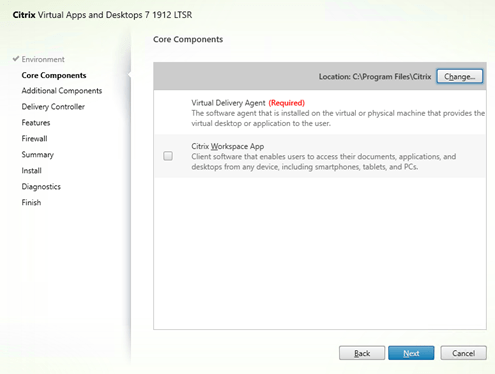
We will install the VDA client on w10target now. You can either use the Citrix XenApp and XenDesktop ISO or download the VDA workstation component.

We will select the middle option here since we will be using the Citrix Provisioning Services.
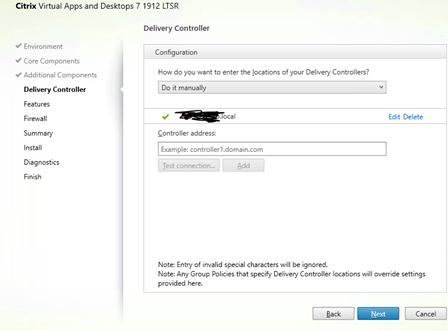
For DDC, we can either enter it here manually, or we can create a GPO to assign DDC to all our VDA in that OU.
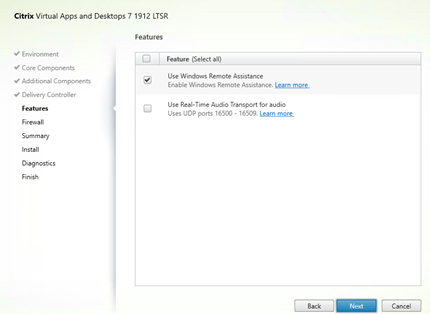
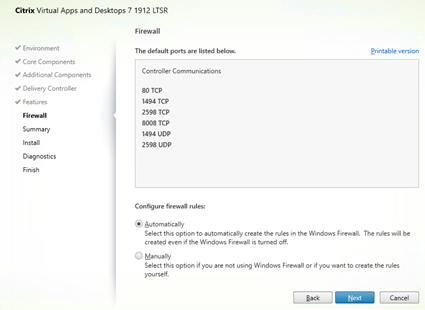
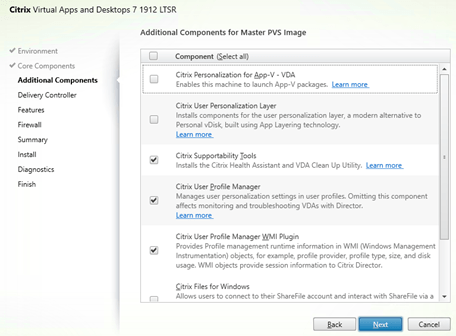
Most of these options do not really matter unless you are looking for a specific feature. You can leave everything as default or add any features as you wish.

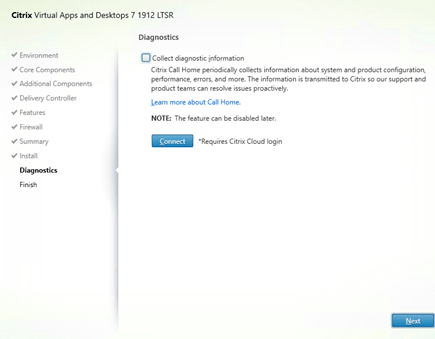
I will leave the Cloud option blank because I do not have an account in Citrix Cloud.
After we installed the VDA client, reboot the VM a few times to make sure all the installations are completed. Some time it takes it a few reboots to finish up all the configuration. Shut down the VM then go to the properties of the vDisk from PVS01. Note that you may need to right click and remove Locks if you just shutdown the VM and it did not refresh the status yet.

Change Private mode to Standard image mode. This is how you can use the same vDisk to boot multiple VM.
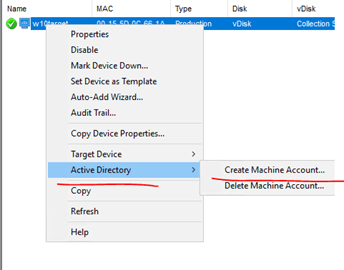
Do not forget to create a Computer object in Active Directory. Otherwise, you won’t be able to login.
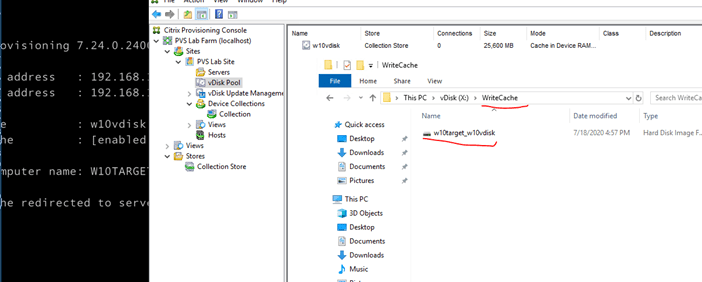
As I mentioned earlier, once we turn this vDisk into standard mode, it will first cache using the RAM, and then overflow to the HardDisk. We have not initiated the boot disk yet and we will be seeing this write cache file created in the write cache folder to help the VM PXE boot. Once the VM boots, login again and initiate the boot disk and reboot it one more time. It should no longer uses the Write Cache folder in PVS01 to boot. .
Next, we will be working on deploying machine using different method.
